Once this was working properly, I could move on to my third experiment and add a control interface to the system. Having previously researched and gained practical knowledge about the Open Sound Control (OSC) protocol, it remained the obvious choice for this application as well. Since I already purchased the TouchOSC mobile application earlier, I decided to use it for this experiment, but because it is not a free software I am going to implement another one for the final product. Two notable possibilities are PDParty and MobMuPlat, which are both open-source applications capable of running Pure Data patches and integrating the OSC protocol. The only advantage of MobMuPlat over PDParty is that the latter is only available for iOS, which considering integrability may be a significant issue.
To set up communication between my phone and Bela, I first had to make sure that it can connect to the internet/wi-fi. Since Bela is a Linux computer with USB connectivity, the best solution was to connect a WiFi dongle to it. Not any dongle is suitable for this application, so I had to find one that is Linux compatible. All dongles should work, which include the 4.4.113 Linux kernel in their driver, but two drivers that were tested and proven are the Ralink RT5370 and MT7601U. One option that was relatively easy to purchase and includes the RT5370 driver is the MOD-WIFI-R5370 from OLIMEX.

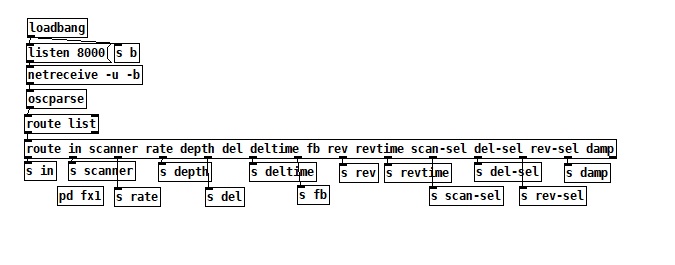
To get it working, I had to connect to Bela by running ssh root@bela.local from a terminal on my computer. After I was connected, I could make sure that the dongle was visible on the board. As the connection was successful by itself, I didn’t have to install any additional driver or edit the interface settings, I just had to set the name and password of my network and reboot. Now that Bela was connected to the same WiFi as my phone, I was able to set up an OSC communication between the two. The first step was to design a control interface in the TouchOSC editor, which had the same parameters as the Pure Data patch. As I needed to control the values for rate, depth, and both wet and dry signals, I created a slider for each and set up their range according to the PD patch. To be able to route these values later in PD, I also had to give each slider a corresponding name.
The second step was to add the [netreceive~] object to the Pure Data patch, which listens for incoming network messages on a given port. These values are then transmitted to the [oscparse~] object which reconstructs them into OSC messages. This is then fed into a [route] object, which checks the first element of a message against each of its arguments and if a match is found, the rest of the message appears on the corresponding outlet. After routing all values to their correct destination I only had to set Bela’s IP address as the host in the TouchOSC app and I was finally ready to try out the scanner patch with adjustable settings.
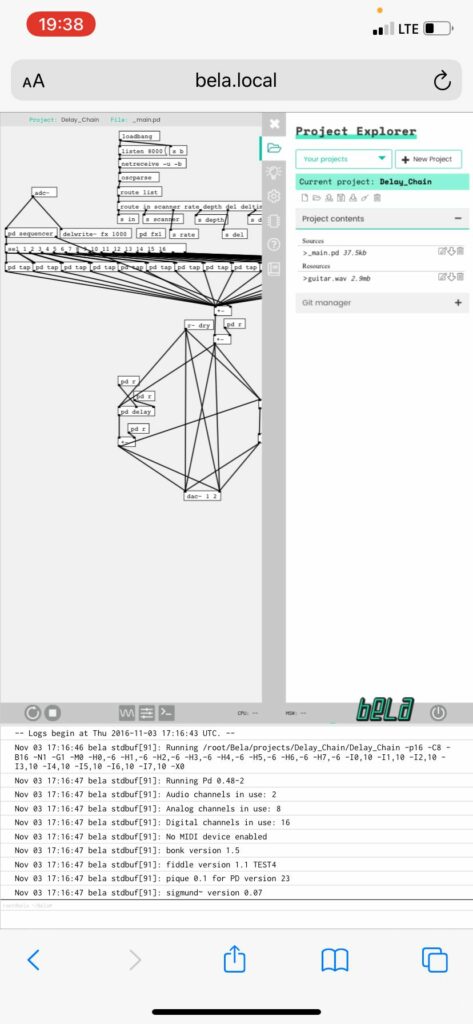
Setting up a connection with Bela is quite simple in the majority of the cases, but there are some situations in which it is not possible. One of these unfortunate circumstances is when the name of the network consists of more words separated by space. Another is when a username has to be specified in addition to the network name and password. Both of these problems stem from how the network credentials are defined in the terminal. One solution I found to this problem was to set up a hotspot connection between my phone and Bela, but even in this case, I needed to connect my phone to a WiFi network for the OSC messages to be forwarded. However, a great advantage of Bela is the easily accessible IDE, not only on a computer, but via any smartphone’s browser, which opens up the possibility of selecting multiple sets of patches stored on the device.